Mell
Theme Instructions
need help setting up your theme? follow our simple steps outlined below to get your blog going!
if you’ve purchased add-on installation, all we need is a questionnaire filled out by you with the information we need to get started. once we’ve received it, your blog will be ready between 3 business days and 2 weeks, depending on complexity. we can let you know your estimated installation time based on your order. please make sure we have the correct email address for you.
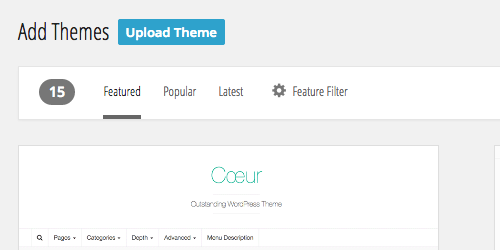
+++ IF YOU DO NOT SEE YOUR THEME FOLDER (mell.zip) : select everything in the folder, right click and click compress items. you’ll then upload that folder.
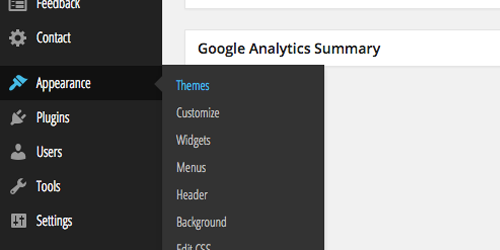
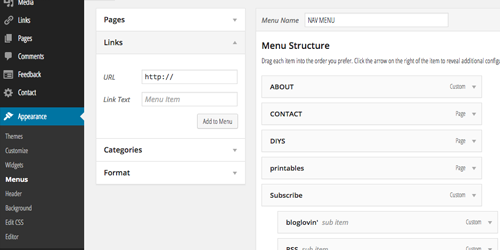
STEP 5. once the theme is installed, click to activate your theme. your theme is now active! you will be prompted to install several plugins. please do so, as they will allow your theme to have all of the functions available in the demo. you can also now customize to your liking in the other appearance sections, arranging your widgets, modifying your menus.
<div class="socialmedia">
				<a href="#">Facebook</a>
				<a href="#">Twitter</a>
				<a href="#">Pinterest</a>
				<a href="#">Instagram</a>
				</div>
<img src="insert your photo here">
if you’d like your profile photo to link to your about page use this code:
<a href="insert the url of your about page here"><img src="insert your photo here"></a>
<a href="insert category url here">TYPE CATEGORY NAME HERE</a>
if you’d like more spaces between the categories, simply use <br/> between each code. if you’re unsure how to link to your category, the url should most likely be www.yoururl.com/category/yourcategory

